
Student Robotics Control Interface

As part of my volunteer work for Student Robotics, I created a user interface to allow our custom-designed kit to be controlled using our power board’s built-in screen and buttons.
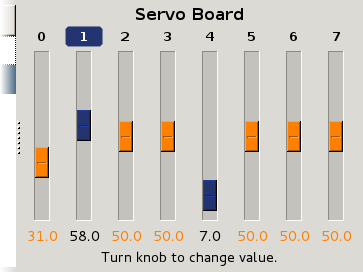
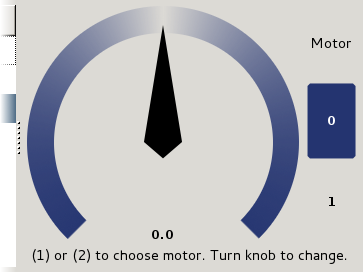
The power board (which has since been replaced) had a low-resolution 4.3in display, two buttons, and two depressible dials. The left dial was used to switch between panels, leaving only two buttons and the right dial for manipulating the selected panel itself. Combined with the restricted screen space and the need for intuitive design, this made designing the more complex panels quite challenging.
To allow the competitors to get started with the control interface quickly, context-sensitive help messages were provided throughout. Due to the restricted screen space these had to be very succinct.
In the two years in which it was used, the control interface proved very popular, and I received much positive feedback. Later, the power board was replaced with a new design, in which a separate tablet was used for control, and the interface was retired. The source code is still available on GitHub.